


Here’s a little project that uses up leftover yarn, does not require a special skill like knitting or crochet, and produces a fun little decoration or possibly a little co-worker Christmas gift. Just add a cheery signed note.

Getting Started
What you will need are the following items:
–Cardboard tube from a TP roll or paper towel roll
–Scissors
–Blue painters' tape or masking tape (ideal is an inch or a little wider)
–Hardbound book measuring at least 6 inches across the cover
–Something to use as a hanger, like a gold cord or elastic metallic cord
–Yarn
–Cardboard tube from a TP roll or paper towel roll
–Scissors
–Blue painters' tape or masking tape (ideal is an inch or a little wider)
–Hardbound book measuring at least 6 inches across the cover
–Something to use as a hanger, like a gold cord or elastic metallic cord
–Yarn
Instructions for making a mini hat decoration:
STEP ONE: The tube
I’m using a tp tube for the example I am about to create. First, I have measured the length of the tube and it is 4 inches. I’m going to get four one inch strips to make four little hats.
 TIP: I have found that it is best to cut the tube lengthwise because trying to cut rings from prove awkward and less than uniform.
So cut straight up, lay flat and mark when you want to cut to make four rings.


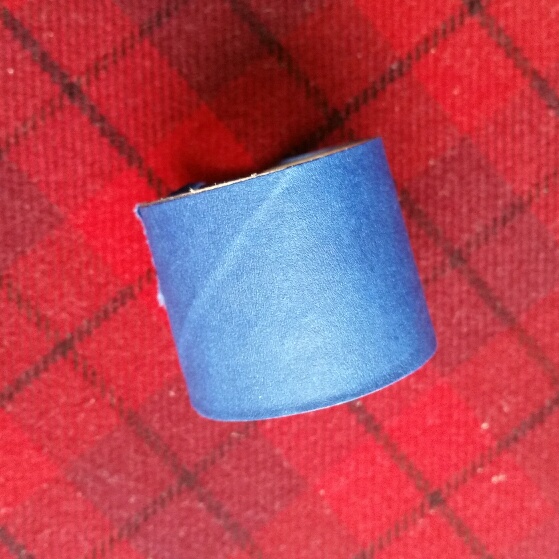 To the left is a ring with dark blue painter’s tape around it. Inside the tape it says “Dollar General” so maybe that is where I picked it up because the cost was cheaper. (Blue tape can be expensive….) It’s width (1.4 inches) is a perfect size to go around each of the rings I just cut and folded over.
STEP TWO: Yarn
Now that you have at least one tube to make a hat, it’s time to cut the yarn into the just-right lengths. You will do this by wrapping the yarn around a book over and over until you reach 36 times around. Remember, for this size tube, an ideal size of the book is at least 6 inches across the cover of a hardbound book.

The best place to cut the yarn into 36 individual strands is opposite of the spine, on the right side of the book as it faces you. Each strand will measure about 13-14 inches long.
STEP THREE: Yarn onto Tube
With a strand of yarn, fold in half. Place the fold part of the yarn down into the tube. Then put the two end pieces through it, like this (left). Next, pull the end pieces to make them and the loop snug, but not overly tight up to the edge of the ring. Repeat going around until you have filled up the ring with your strands of yarn. (right)


Once you go around, your hat will look something like this (below, left).

STEP FOUR: Shaping the Hat
 Now, push the long yarn ends/strands back through the ring so they jut out the other end. While you are doing this also move the yarn loop knots slightly inward, too. Take a little time to make sure that you have all of the ends up through and reasonably straight. (right)
Next you are going to make a pom pom by tying around the loose ends. The hat will be shaped to look fuller later. Once the yarn is tied tightly, use your scissors to shape the ends into a nice roundish pom pom.

STEP FIVE: Hanger and Finishing
I used some metallic elastic cord to hang the little hat. I used a piece about 7-8 inches long, folded it in half and tied a knot to fasten the loose end. Then using a tapestry needle, I threaded the loop into the eye and inserted the needle up into the hat and out the middle of pom pom.
To make the hat look full, you could insert a few cotton balls or a small ball of yarn inside of the hat. 
Absolutely adorable! You make it seem so simple. You're truly talented ♡
ReplyDeleteThank you so much for these tips! I have a huge stash of leftover yarn that desperately needs organizing, so I'm definitely going to try out some of these ideas. I especially like the idea of using clear bins so that I can easily see what I have.
ReplyDeleteJust found these... thank you so much! Sharon A Maxwell
ReplyDelete